- Contact 0870 350 7767
- |
- Advertise

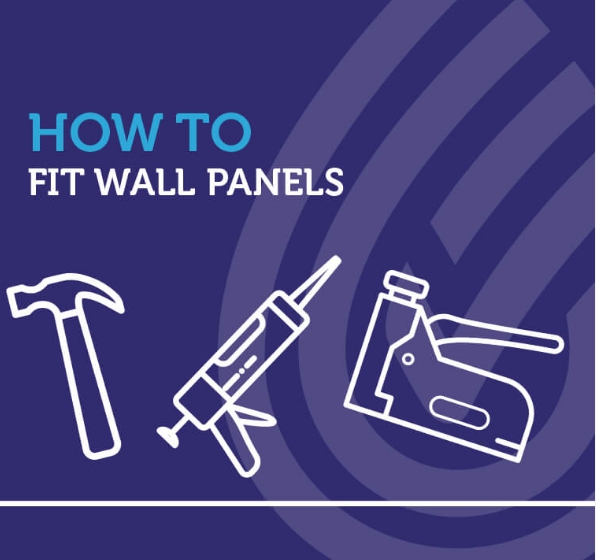
Best way to fit shower wall panels
 News and PR from Perform Panel - Published 19 March 2024
Perform Panels are engineered for attachment to various surfaces, including tiles, concrete, plaster, plasterboard, and chipboard/plywood walls, provided they are structurally sound and in good condition.
News and PR from Perform Panel - Published 19 March 2024
Perform Panels are engineered for attachment to various surfaces, including tiles, concrete, plaster, plasterboard, and chipboard/plywood walls, provided they are structurally sound and in good condition.1. Surface Preparation:
Ensure the wall surface is thoroughly cleaned, dried, and devoid of debris or dust particles.
Address any cracks, holes, or irregularities on the wall surface.
Identify and rectify any protrusions or obstructions that impede the panel installation process.
2. Measurement and Planning:
Measure the dimensions of the wall area where the wetwall panels will be installed.
Strategically plan the panel layout to optimize material utilization and minimize wastage.
Mark reference lines on the wall surface to serve as a guide during installation.
3. Panel Cutting:
Use appropriate cutting tools, such as a fine-tooth saw or jigsaw, to trim the wetwall panels to fit the measured dimensions accurately.
Ensure precise cutting, especially for accommodating fixtures or fittings.
4. Adhesive Application:
Apply a recommended adhesive to the back of each panel following the manufacturer's instructions.
Spread the adhesive uniformly across the entire panel surface to ensure secure adhesion to the wall.
5. Panel Installation:
Begin installing panels from one corner of the wall, ensuring alignment with the reference lines.
Utilize a spirit level to verify the panels are vertically plumb and horizontally level.
Continuously install subsequent panels, maintaining tight seams and consistent spacing between panels.
Trim panels as necessary to accommodate corners, edges, or obstacles.
6. Panel Securing:
Secure panels in place using panel pins or screws, particularly around edges and corners.
Exercise caution to avoid over-tightening screws, which could potentially damage the panels.
7. Joint and Edge Sealing:
Once all panels are installed, seal joints and edges using a waterproof sealant.
Ensure thorough sealing to prevent water infiltration and achieve a seamless finish.
8. Finishing and Cleaning:
Remove any excess adhesive or sealant from panel surfaces using a damp cloth or sponge.
Allow the adhesive and sealant to fully cure per the manufacturer's instructions before utilizing the shower or bathroom.
Adhering to these steps can ensure a smooth and successful installation of wetwall bathroom and shower wall panels, resulting in a waterproof and aesthetically pleasing finish for your space. Always refer to the specific recommendations provided by the manufacturer for your wetwall panel product.
Feel free to view our full comprehensive range at www.performboard.co.uk

 How to install Perform Panel bathroom and shower wall panels

Other announcements from Perform Panel
-
How to Prepare Your Walls for Wet Wall Shower Panels
Perform Board Shower panels have gained popularity for their convenience, durability, and aesthetic appeal. Whether you're renovating your bathroom or constructing a new one, proper wall prep is essential to ensure the longevity and stability of your shower panels.
05 Mar 2024
-
What is the thickness of WetWall Shower Perform Panels
Perform Panel Wetwall solid plywood shower panels are typically available in thicknesses well-suited for shower and wet area applications. The most prevalent thickness for these panels is 11mm, offering the required strength and durability to withstand moisture and daily use in a shower or wet area, and facilitating easy installation.
14 Dec 2023
-
Perform Panel Boards
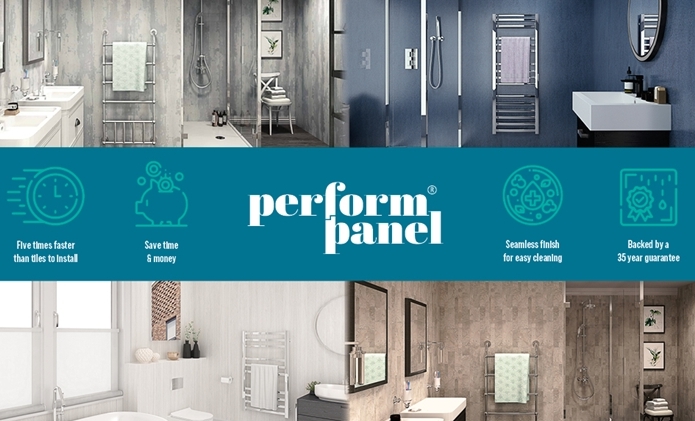
Perform Panel offers a staggering 48 different colours, textures and designs giving you a variety of choice to revive your bathroom and give it the revamp it may need!
16 Jan 2023
-
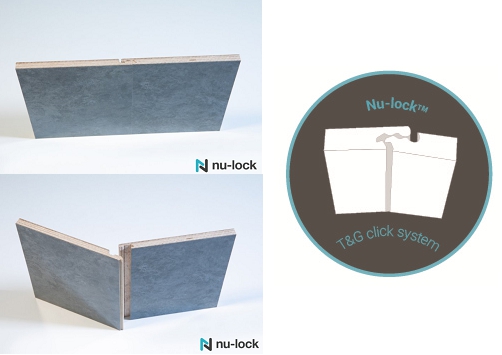
Nu Lock Plywood Returns
Tongue & Grooved panels are once again manufactured with 7-Ply Birch Plywood
18 Nov 2022