- Contact 0870 350 7767
- |
- Advertise

How to Prepare Your Walls for Wet Wall Shower Panels
 News and PR from Perform Panel - Published 05 March 2024
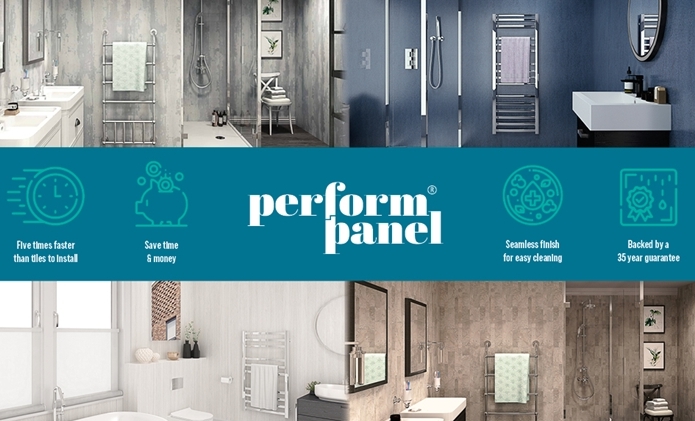
Perform Board Shower panels have gained popularity for their convenience, durability, and aesthetic appeal. Whether you're renovating your bathroom or constructing a new one, proper wall prep is essential to ensure the longevity and stability of your shower panels.
News and PR from Perform Panel - Published 05 March 2024
Perform Board Shower panels have gained popularity for their convenience, durability, and aesthetic appeal. Whether you're renovating your bathroom or constructing a new one, proper wall prep is essential to ensure the longevity and stability of your shower panels.Step 1: Evaluate Wall Condition
Before beginning any preparation work, it's crucial to assess the condition of your walls. Look for signs of moisture damage, mould, mildew, or existing cracks. Addressing any structural issues beforehand is essential to prevent future problems once the shower panels are installed.
Step 2: Remove Existing Tiles or Wall Coverings
If your bathroom walls are currently tiled or covered with other materials, you'll need to remove them before installing shower panels. Utilize a hammer and chisel to carefully remove the tiles, ensuring not to damage the underlying wall surface. After tile removal, scrape off any residual adhesive or grout.
Step 3: Repair Any Damage
Inspect the walls for cracks, holes, or uneven surfaces. Fill any gaps or imperfections with an appropriate wall filler or patching compound. Sand down the patched areas to create a smooth, even surface.
Step 4: Thoroughly Clean the Walls
Properly cleaning the walls ensures a strong bond between the shower panels and the wall surface. Use a mild detergent or cleaning solution to eliminate any dirt, grease, or soap scum. Rinse the walls thoroughly with water and allow them to dry completely.
Step 5: Apply a Waterproofing Membrane
To safeguard your walls against moisture damage and ensure a watertight seal, apply a waterproofing membrane. This step is particularly critical if your walls are susceptible to moisture or if you're installing shower panels in a wet area. Follow the manufacturer's instructions meticulously to ensure full wall surface coverage.
Step 6: Measure and Mark the Wall
Before installing the shower panels, accurately measure the dimensions of your walls and mark the placement of the panels accordingly. Use a level to guarantee that the panels will be installed evenly and straight.
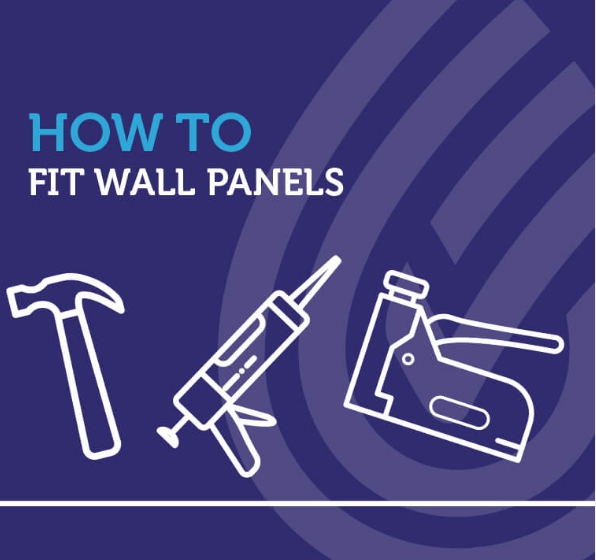
Step 7: Install the Shower Panels
Now it's time to install the shower panels according to the manufacturer's instructions. Apply a suitable adhesive to the back of each panel and firmly press them onto the wall surface, starting from the bottom and working upward. Utilize spacers to maintain consistent spacing between the panels and ensure they are installed straight and level.
Step 8: Seal the Joints
Once the shower panels are installed, seal the joints and edges with silicone caulk to prevent water penetration and ensure a watertight seal. Apply a bead of caulk along the seams where the panels meet the wall and smooth it out with a caulking tool or your finger.
Step 9: Allow Sufficient Drying Time
Give the adhesive and caulk adequate time to dry and cure before using the shower.

 Essential steps to effectively prepare your walls, facilitating a seamless installation process.

Other announcements from Perform Panel
-
Best way to fit shower wall panels
Perform Panels are engineered for attachment to various surfaces, including tiles, concrete, plaster, plasterboard, and chipboard/plywood walls, provided they are structurally sound and in good condition.
19 Mar 2024
-
What is the thickness of WetWall Shower Perform Panels
Perform Panel Wetwall solid plywood shower panels are typically available in thicknesses well-suited for shower and wet area applications. The most prevalent thickness for these panels is 11mm, offering the required strength and durability to withstand moisture and daily use in a shower or wet area, and facilitating easy installation.
14 Dec 2023
-
Perform Panel Boards
Perform Panel offers a staggering 48 different colours, textures and designs giving you a variety of choice to revive your bathroom and give it the revamp it may need!
16 Jan 2023
-
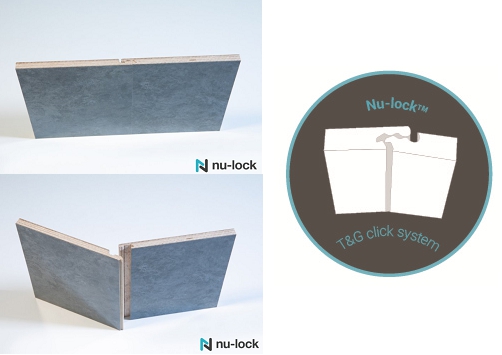
Nu Lock Plywood Returns
Tongue & Grooved panels are once again manufactured with 7-Ply Birch Plywood
18 Nov 2022